
Now it’s no secret that I’m a fan of snacks. Sometimes you just need some extra food to get you to the next meal. And since I’m also a fan of watching TV, I often find myself eating snacks while watching TV. You know the best way to watch tv and eat snacks? It’s with a snack table. And here’s how I made a DIY Snack Table to meet my needs.
What Is A Snack Table
If you don’t know what a snack table is then I’d like to know where have you been hiding all of your life? Because it certainly wasn’t in my house. I think TV dinners made eating dinner in front of the TV popular in the 1950ies. And then came the TV tray table so that you could eat the TV dinner comfortably in front of the TV without putting the hot food in your lap. Those old TV trays were the ancestors of snack tables. They were foldable so they could be easily put away. They were also flimsy and probably got knocked over a lot.
I guess over the years, people started having more and more snacks and so there was no need to put the snack tables away. The DIY Snack Table that I built is a nice looking piece of furniture and there no reason to put it away. It will live near my sofa all the time.
How To Build A Snack Table
This is a quick and easy woodworking project. Even a beginning woodworker with only a few tools could make a passable version of this DIY snack table.
Supplies
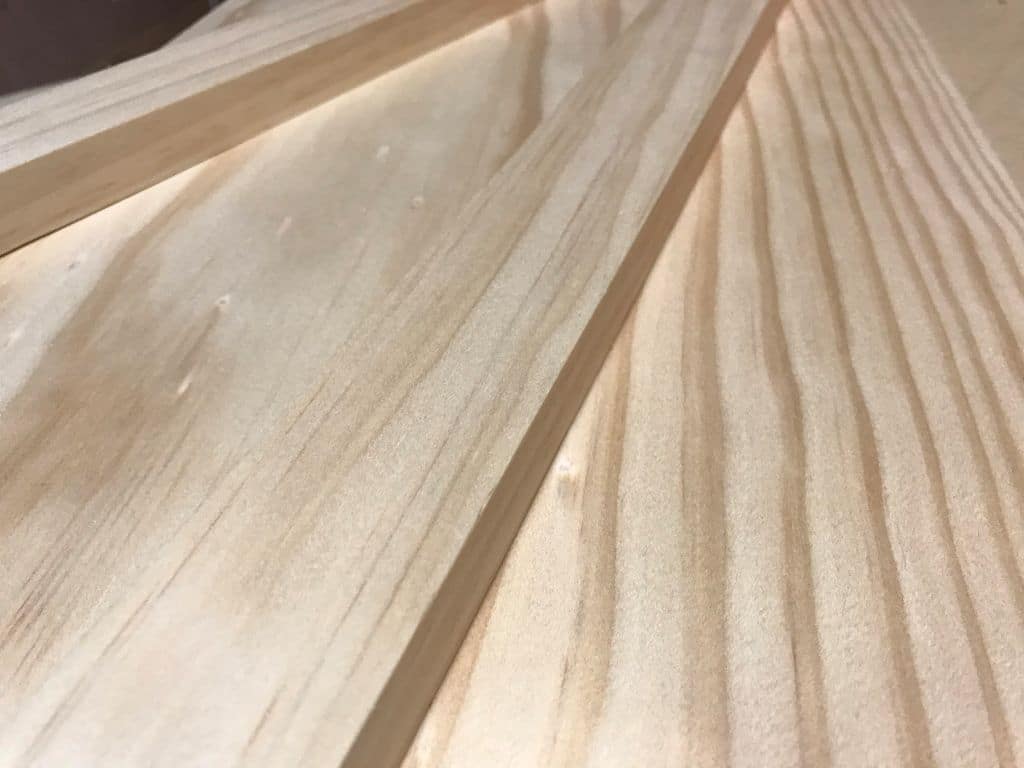
Wood – I bought an eight foot 1″ x 12″ of premium pine. You could also buy regular pine at your local big box store and save some money. But those are usually warped and full of knots. If you plan on painting your snack table you can use a piece of MDF. The MDF has a very smooth surface and is perfect for paint.
I chose to stain my snack table to match the furniture in my living room including the DIY coffee table with storage. Once again I went with Varathane – Ebony. I really like dark stains and this one looks great.
Joints
Basically you’re building a square version of the letter “C”. It’s three pieces of wood joined together. You can “butt” them together and nail or screw them and that’s the easiest way to make this.
Pocket holes
Another way to put this together would be with pocket holes but that required a pocket hole jig. The go to pocket hole jig is made by Kreg. Kreg makes small versions and they also make bigger versions. If you watch any YouTube maker channels you’ll see they all have the bigger version of the Kreg Pocket Hole Jig. If you aren’t going to start a YouTube Maker Channel then you can go with the smaller less expensive one. Or if you’re like me, you’ll go to Harbor Freight and get a decent pocket hole jig for less money than the Kreg.

How Tall To Make A Snack Table
When you’re figuring out how tall to make your snack table you should first measure your sofa. My original plan was to make this for the family sofas but when I went to measure them, I found that the sofas have a metal frame and there is now way to slide the bottom of the snack table underneath the sofa. Our family room sofa is a sectional with electric recliner features and it has a metal frame. Bummer. But we also have a sofa in the living room too so that I measured that one and wound up making the DIY snack table around 21″-22″ tall.

Snack Table Cut List
1 – 15″ 1″ x 12″ – Top
1 – 20″ 1″ x 12″ – Back
1 – 20″ 1″ x 12″ – Base
2 – 20″ 1″ x 2″ – Braces
Join The Wood Together
If you have the clamps and you made decently straight cuts then definitely glue these pieces together.
If you have a nail gun or brad nailer then I recommend gluing the pieces together and popping a few nails or brads into it and forget about the clamps.
If you only have a screw gun, then pre-drill those holes so you don’t split the wood and screw the pieces together. If you went with the pocket hole jig you’ll need the screws anyway.

Also if you plan to eat you Thanksgiving dinner on the snack table, then you’ll want to put some screws into it. The screws will give you the most strength.
Stain It
Once it’s all together and the glue is dried (if you used any) then it’s time for finishing. Like I said before I used an ebony stain. You could also paint it. Both options will look good.
The last step is to add some feet to the bottom of the snack table. You don’t want to scratch up your floor. You can buy a few adhesive furniture pads and stick them to the bottom.
And there you have it. This DIY Snack Table is ready for snacks.

